“…No. There is another.” – Yoda.
As part of my ongoing efforts in home automation, I had a need to deploy sensors at various locations around the house reporting back to the central automation system. Rather than use an Arduino like I would normally, I wanted something with a bit more functionality. I dusted off the original Raspberry Pi model B that I bought when they first came out and had a look into that. To end a lengthy tale prematurely, the experimentation was a big success – so I purchased a handful of the new Raspberry Pi B+ models. The rest of this post covers work with the B+ model, although everything listed here also works on the standard B model. FYI – I picked the B+ as I needed the on-board Ethernet controller.
I’ve been experimenting with Mono recently – an open source .NET platform for Linux (and other operating systems). I’ve been particularly interested in exploring the option of deploying .NET applications on Linux since Microsoft’s announcement regarding their direction of making .NET truly cross platform in a future release (.NET 5.0 I think). Therefore, any applications I develop with Mono now are likely to be relatively simple to port to .NET 5.0 when it comes out – given the collaboration between the various parties working on this.
Anyway. The Raspberry Pi. It’s small, cheap, able to run a decent distribution of Linux and capable of running native, Java, .NET, whatever. Given they have an actual multi-tasking chip, it gives me much more freedom than what I have when using an Arduino. That isn’t to say that it’s better – just that there are multiple platforms available and you try and use the best one for the job.
The main purpose of this post is to describe the process I used and the basic configuration to get a .NET Mono enabled Raspberry Pi up and running using the Arch Linux distribution – which isn’t the default operating system for the Pi.
Part 1 – Ordering
I ordered the Pi and other components from RS Australia. In particular, I ordered the Raspberry Pi B+ model, a case suitable for the B+, a 5V power supply and a MicroSD card (2GB, although larger are supported).
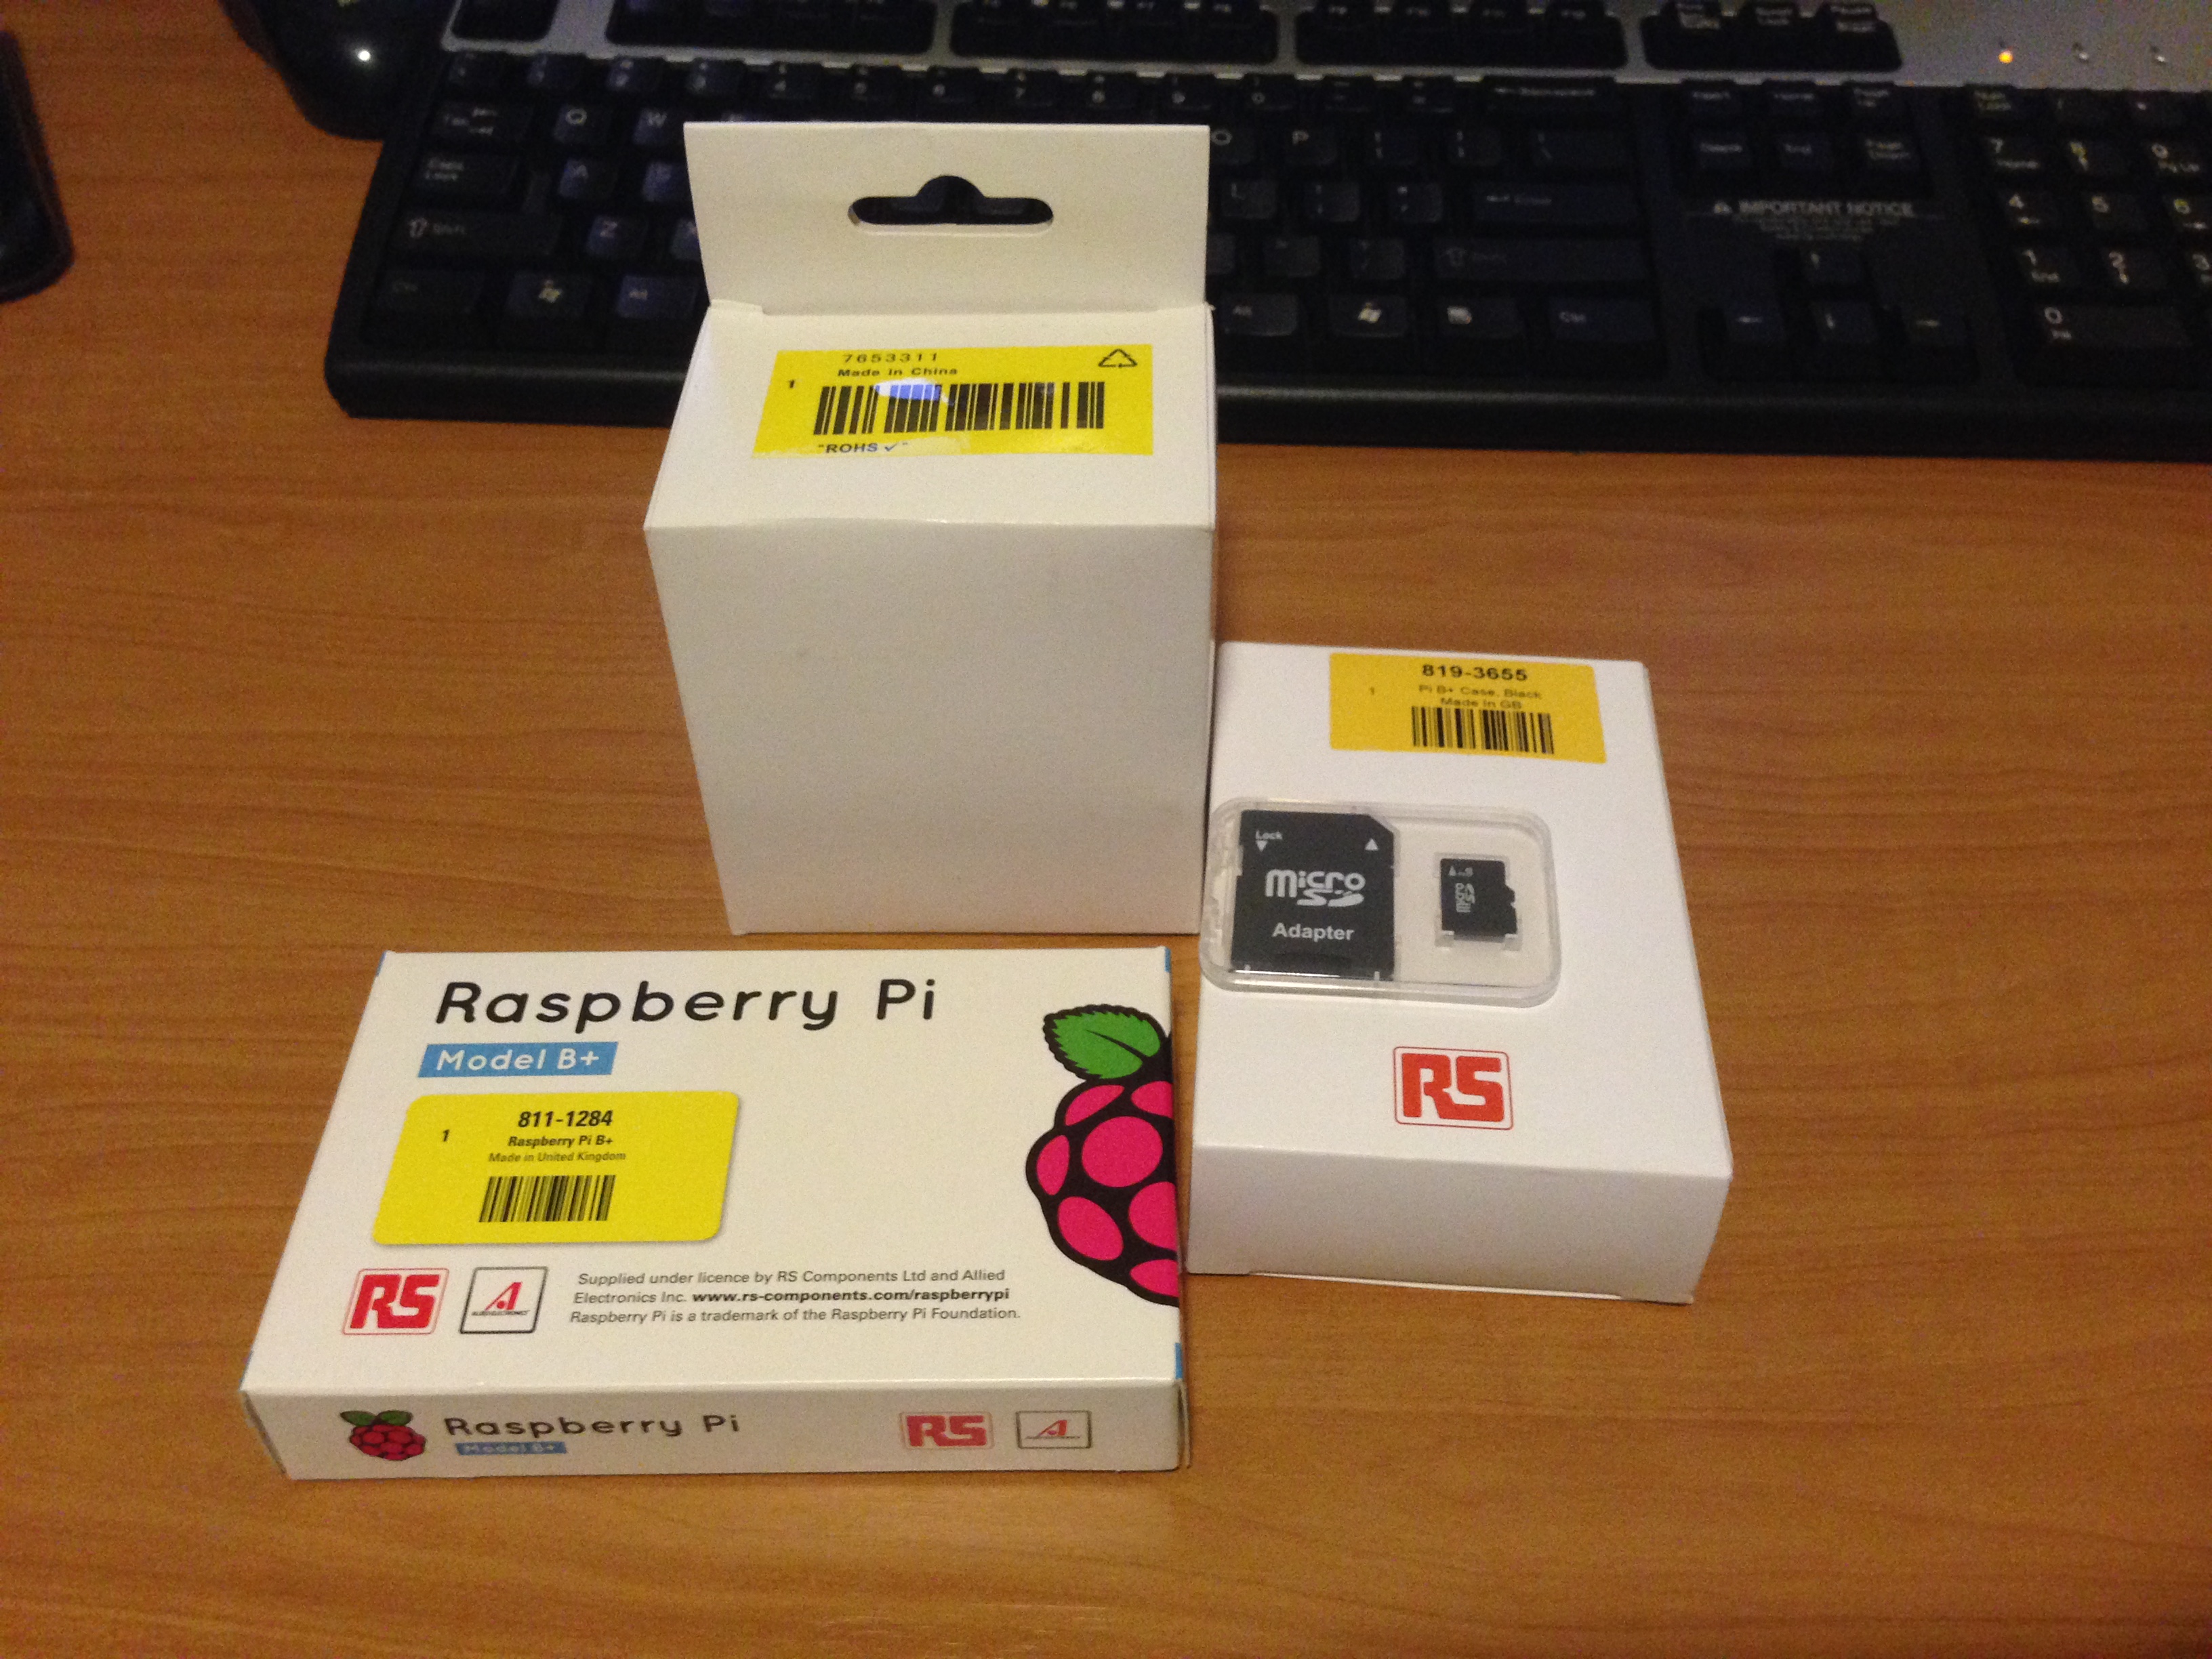
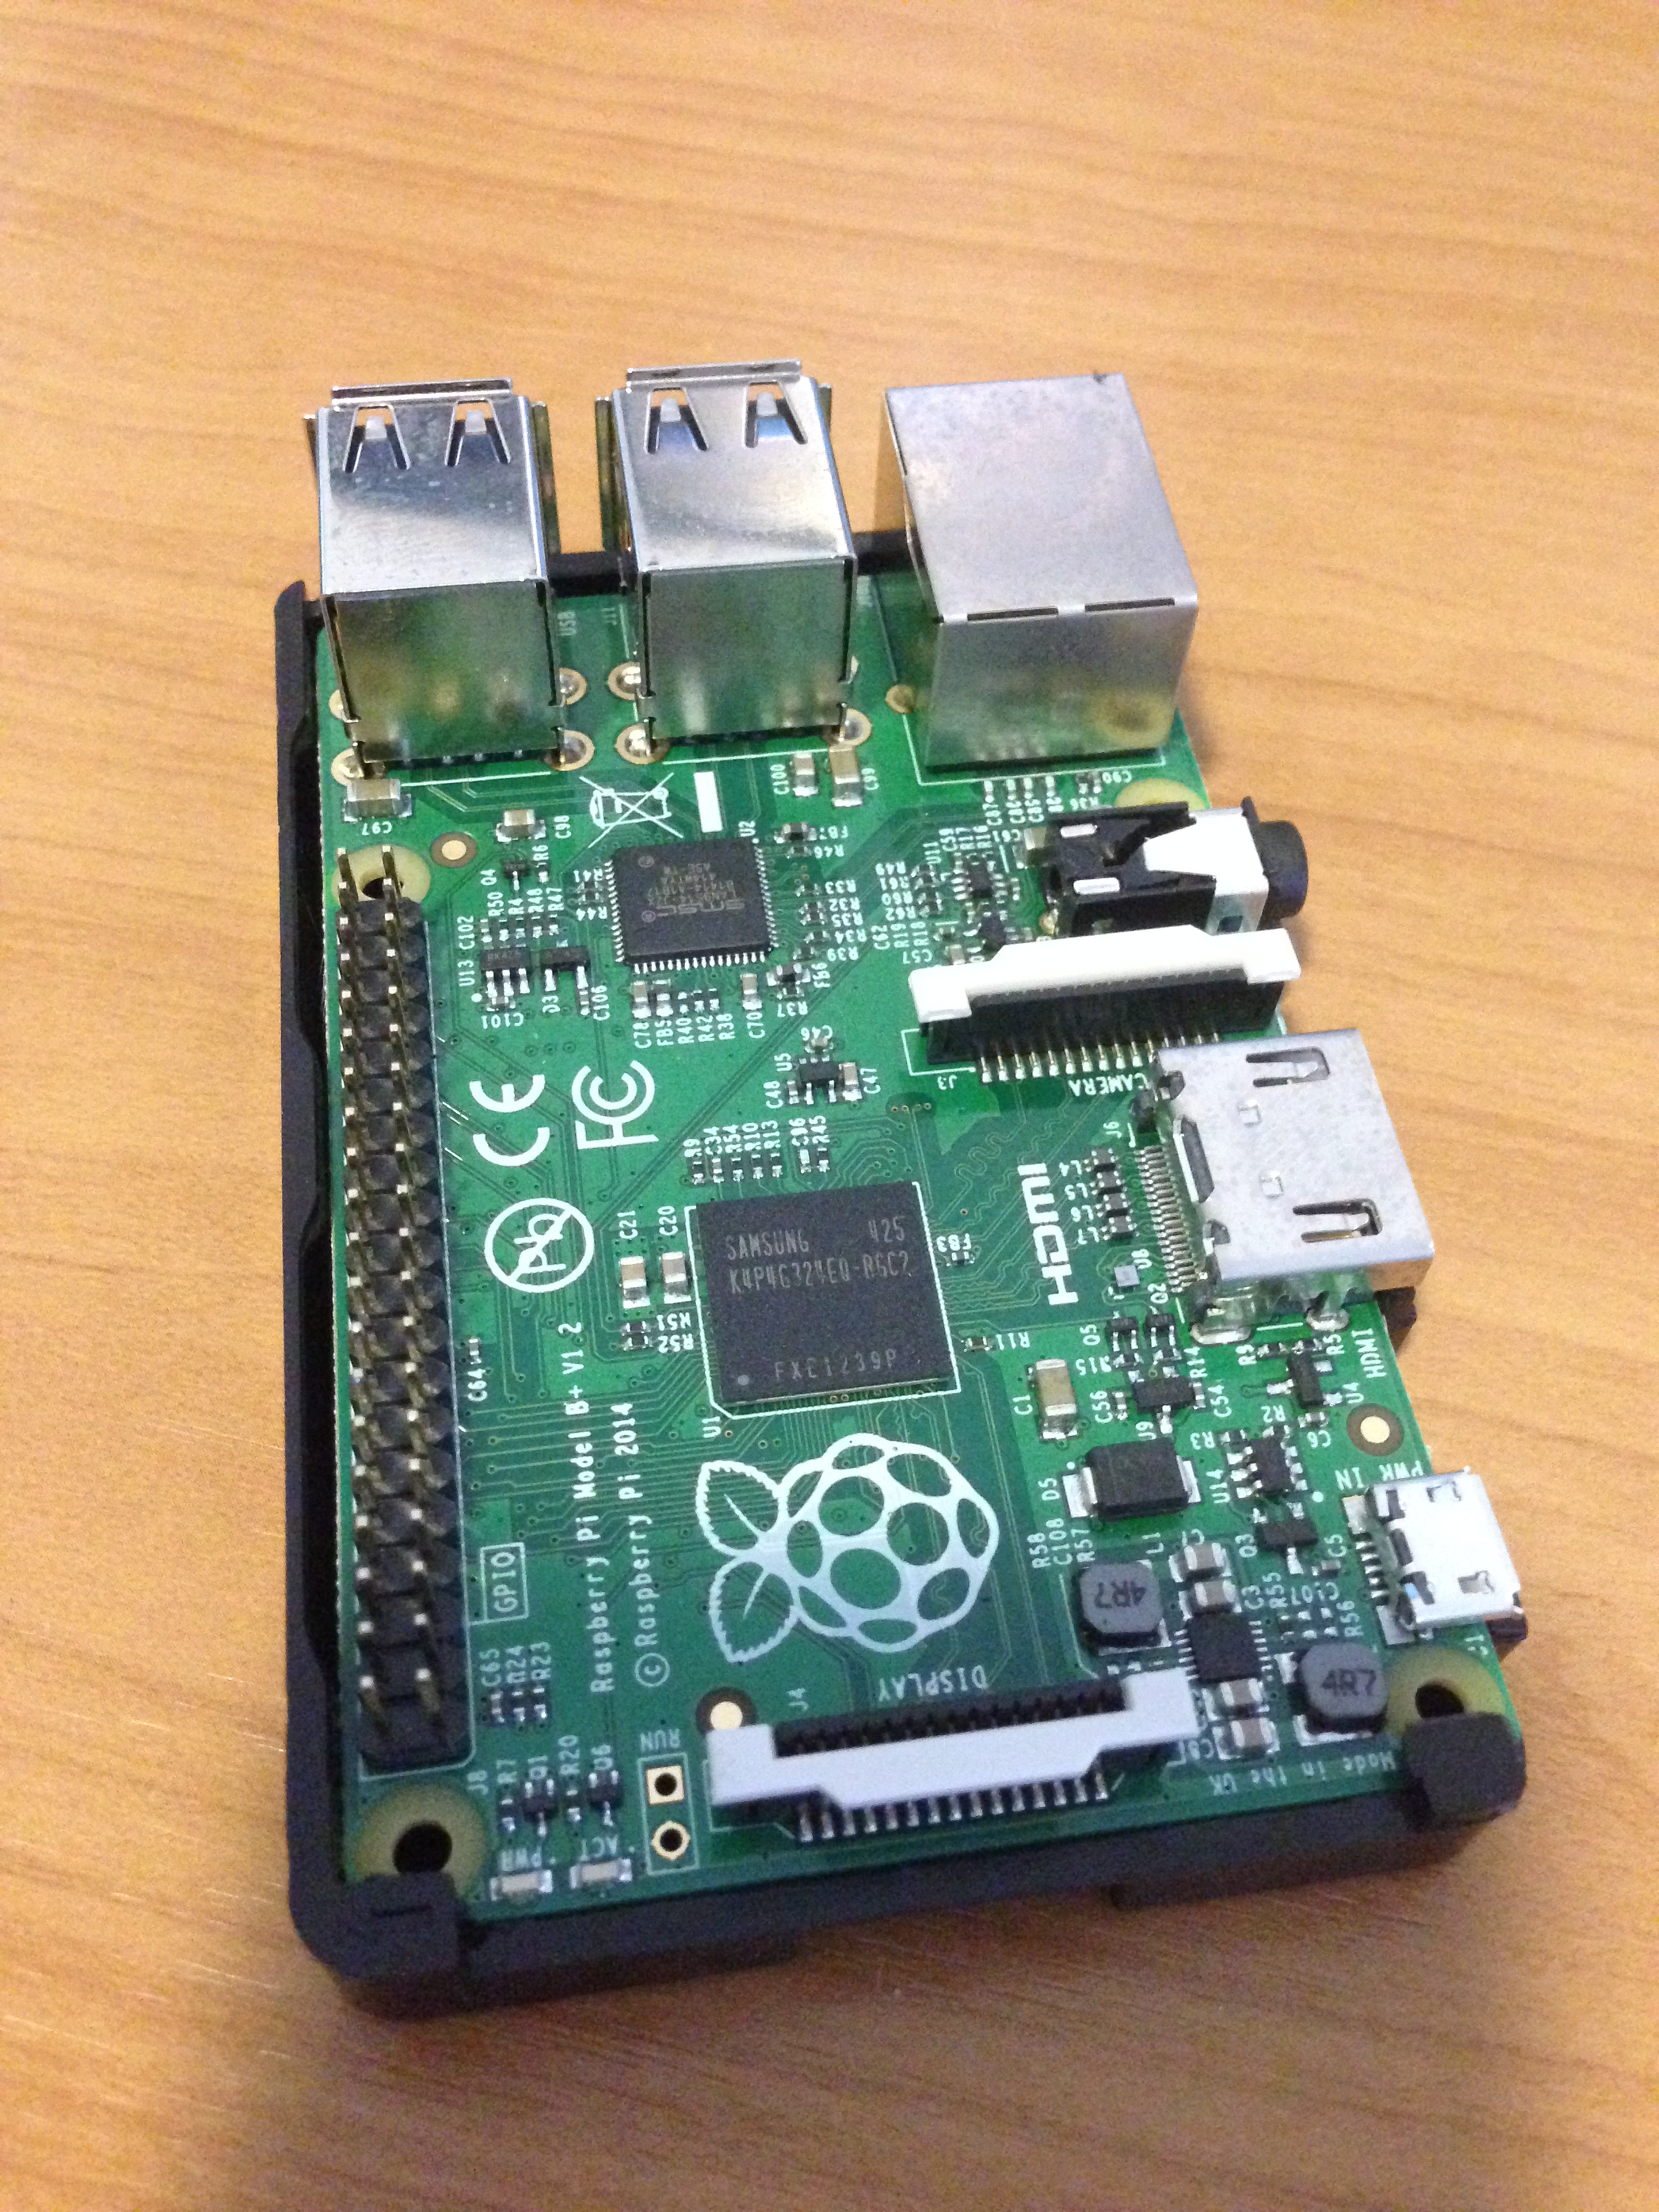
Excellent. The photos below are of the device going into the case. The case itself was quite elegant – there’s even an accessible compartment under the lid for gaining access to the GPIO pins – you could even run a ribbon cable from the GPIO pins out of the case without needing to put holes in it.


Part 2 – The OS Install
I decided to go with Arch Linux as the distribution instead of the standard Raspberry Pi operating system – as Yoda would say – there is another. It seemed a bit leaner and a bit more advanced than the default OS. I downloaded the base image from here. I then used the Win32DiskImager utility from here to write the image onto my MicroSD card. That took 5 – 10 minutes – not long.
I put the card in, plugged in an Ethernet cable and a power cable and the device booted. You could attach a monitor/television + keyboard if you need to, but I trusted the device would boot by itself. I had a look at my DHCP server to look for the device’s IP address and then simply opened an SSH session from my PC (root/root). There was never a need to actually connect a display device or keyboard – although you can if you need to.
I’ll cover the base OS configuration and packages that I used. This is what worked for my specific applications – what you need of course may be different.
# Set the host name
echo YourHostName > /etc/hostname

# Change the root password
passwd root

# Enable the random number generator
echo RNGD_OPTS=\"-o /dev/random -r /dev/hwrng\" > /etc/conf.d/rngd

# Enable NTP
timedatectl set-ntp true
timedatectl set-timezone Australia/Sydney

# Update the OS
# This line will download the default mirror list for PacMan (package manager)
# wget -O /etc/pacman.d/mirrorlist https://www.archlinux.org/mirrorlist/all/

# I needed an ARM specific Arch Linux mirror (in Australia)
echo Server = http://au.mirror.archlinuxarm.org/\$arch/\$repo > /etc/pacman.d/mirrorlist

pacman -Syyu
pacman-db-upgrade

# Install base packages
# vim = text editor
# mono = mono .NET Framework
# rsyslog = syslog server
# alsa-utils = needed for audio control
# ufw = firewall manager
pacman -S vim mono rsyslog alsa-utils ufw

# Disable built-in audio
mv /etc/modules-load.d/raspberrypi.conf /etc/modules-load.d/raspberrypi.conf.original

# Enable IPv6
# Change ipv6.disable=1 to ipv6.disable=0
vim /boot/cmdline.txt

reboot

# Enable firewall
ufw allow ssh
ufw enable

# Enable syslog
systemctl enable rsyslog.service
systemctl start rsyslog.service

# Set volume
alsamixer
Some of those lines might need some explanation. I needed the alsa-utils package for audio support as a microphone is one of the components that I was going to plug in to the Raspberry Pi. It has some useful tools – amixer and alsamixer (amongst others). That’s the same reason that I disabled the built-in audio – so that my USB audio device was the first one found by any applications looking for an audio device. Other packages – I still prefer vim for editing text files, I wanted to use the rsyslog package for forwarding syslog events, and I’ve like using ufw from my time with Ubuntu.
That was enough of a configuration to get the device usable for me. I then used an SCP client to copy my .NET application across, wrote a daemon/service script for the systemctl utility and went from there.
I’ll write another post later regarding some of the experiences of using Mono on the device – overall it was quite good, but there is some missing functionality that I’ve needed to work around – you know, basics like authentication on a WCF request. Sigh.
~ Mike

Many thanks for the review of this device, I think it will be help me!